- 0 Comments
- By occ
- FOWCON Blogs
- 421 Likes
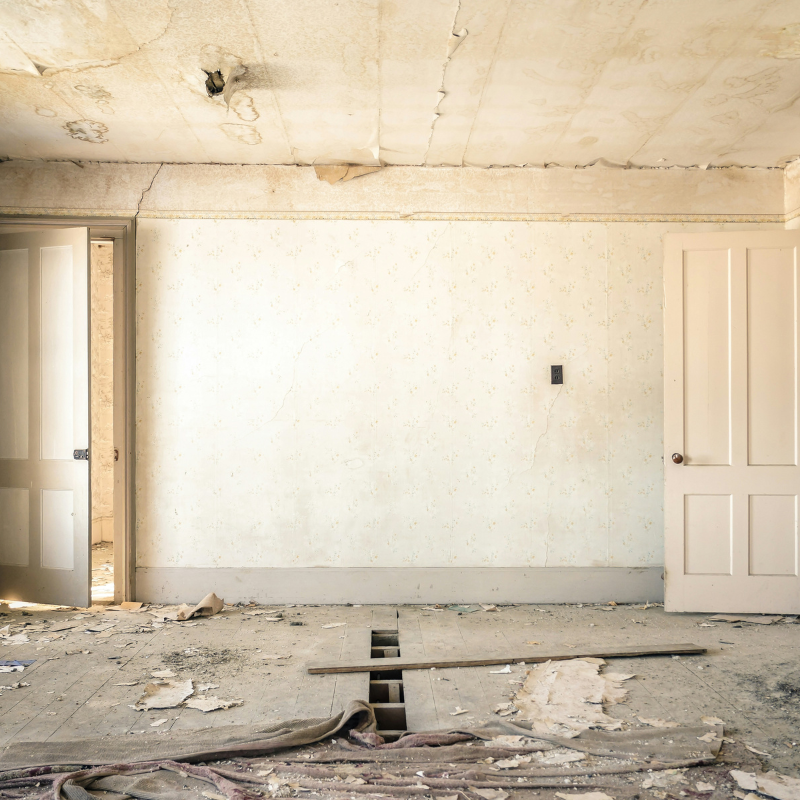
Dealing with water damage can be a stressful experience, but knowing how to address it can make all the difference. As a water and fire damage restoration contractor serving Westchase FL, we understand the importance of timely and effective repairs. In this guide, we’ll discuss how to fix a water-damaged ceiling and restore your space to its former glory.
Assessing the Damage
When it comes to water and fire damage restoration in Westchase FL, every situation is unique. The first step is to assess the extent of the damage to determine the best course of action. Here are some key points to consider:- Severity: Determine how extensive the water damage is and whether it has affected the structural integrity of the ceiling.
- Moisture Levels: Ensure that the affected area has been properly dried out to prevent mold growth and further damage.
- Insulation Inspection: Check if the insulation behind the ceiling is wet or damaged, as this may need to be replaced.
Repairing the Ceiling
Once you’ve assessed the damage, it’s time to proceed with repairs. Here’s a step-by-step guide:- Inspect and Dry: Ensure that the area is completely dry before beginning repairs. Use fans and dehumidifiers if necessary.
- Replace Damaged Materials: If there is any deformation or damage to the ceiling material, cut out and replace those sections.
- Apply Antimicrobial Treatment: To prevent mold growth, apply an antimicrobial treatment to the affected area.
- Seal and Stain: Once the repairs are complete, seal and stain the ceiling to restore its appearance and protect it from future damage.
- Replace Fixtures: Any ceiling fixtures that were affected by water should be replaced to ensure safety and functionality.
- Match Existing Finishes: Ensure that the repaired area matches the existing ceiling finishes for a seamless look.
- Call a Professional: a commercial water damage restoration in Westchase FL can reassure you about the damage that lies behind the ceiling materials.


Leave Your Comment